Maintaining frequent backups of your website is essential since it guards against data loss, hackers, and unintentional mistakes. You’re in luck if your hosting company allows JetBackup in cPanel! With the help of JetBackup, you can easily backup and restore your emails, databases, and website files.
I’ll show you how to easily make, manage, and recover backups using JetBackup in cPanel in this tutorial.
What is JetBackup?
JetBackup is a backup management system integrated into cPanel that allows you to:
✔ Create full or partial backups of your website
✔ Schedule automatic backups (daily, weekly, monthly)
✔ Restore files, databases, or emails with a few clicks
✔ Download backups for safekeeping
Unlike traditional cPanel backups, JetBackup is faster, more reliable, and offers better control over your data.

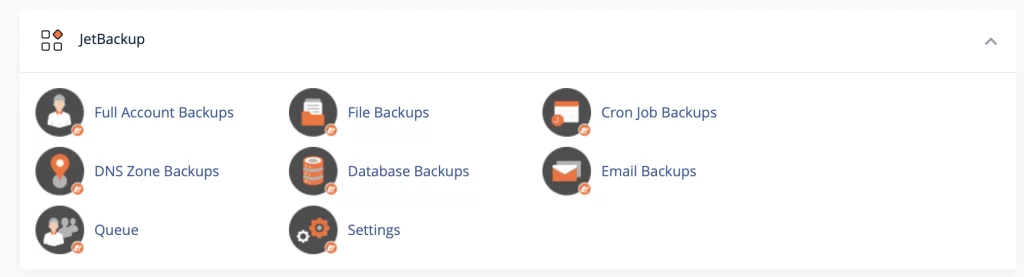
How to Access JetBackup in cPanel
Log in to cPanel (usually
yourdomain.com/cpanel)Look for the JetBackup section.
Click on it to open the Full account backups.
(If you don’t see JetBackup, your hosting provider may not have it enabled) Here at Chkserv, we do have it enabled on our cPanel servers. So might be worth switching to us!
How to Create a Backup with JetBackup
Option 1: Quick Backup (One-Click Backup)
In JetBackup, click Backup Now.
Choose what to back up:
Full Account (everything)
Home Directory (website files)
MySQL Databases
Email Accounts & Forwarders
Click Backup—your backup will start immediately.
Option 2: Scheduled Backups (Auto-Pilot Mode)
Want automatic backups? Here’s how to set them up:
Go to Backup Jobs in JetBackup.
Click Create New Backup Job.
Configure:
Backup Type (Full, Files, Databases, etc.)
Schedule (Daily, Weekly, Monthly)
Retention (How long to keep backups)
Click Save—JetBackup will now run backups automatically.
How to Restore a Backup in JetBackup
Made a mistake or got hacked? No worries—JetBackup makes restoration simple:
Go to the Restore tab in JetBackup.
Select the backup date you want to restore from.
Choose what to restore:
Full Account (entire website)
Specific files/folders
Databases
Emails
Click Restore and confirm—your data will be recovered.
How to Download Backups for Extra Safety
While JetBackup stores backups on the server, downloading a copy adds extra security:
In JetBackup, go to Backup History.
Find the backup you want and click Download.
Choose the format (ZIP, TGZ) and save it to your computer or cloud storage.
Final Thoughts
For website owners, JetBackup in cPanel is revolutionary since it is incredibly user-friendly, dependable, and quick. JetBackup guarantees that your data is always secure, whether you are backing up manually or setting up automatic backups.
If you need more support and tutorials on WordPress and Plugins, visit here.
